Setting Up Your First Business Website: A Beginner’s Guide
With Stephanie Dutta, Web Designer at The Jeanie Design Studio
There are few things more rewarding, or challenging, than starting your own business, and setting up a website is often a top priority for any business owner.
No matter your size, industry, or offer, if you want to be found or sell online, it’s essential to get yourself a website.
And it’s not as difficult as you might think.

Step 1: Choose a domain
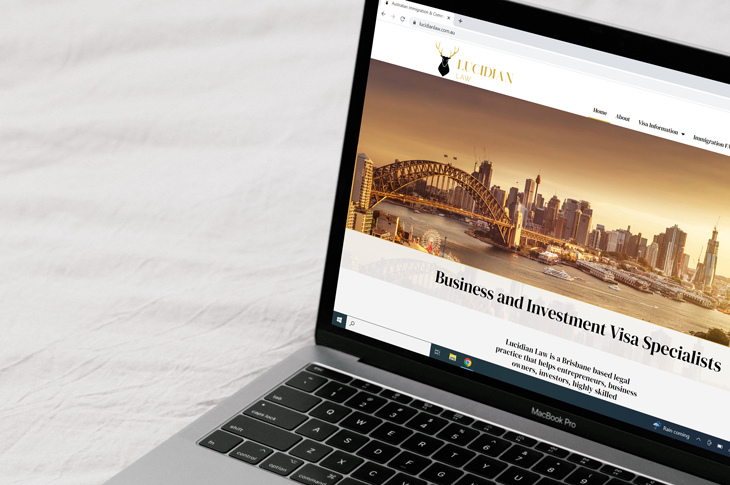
When beginning your business journey, it’s important to establish a great URL, which stands for Uniform Resource Locator.
Ideally, your URL is your exact business name. This not only helps people find your business/webpage but also creates brand recognition and consistency, two key elements for any business owner.
If you’re just starting out and have yet to choose a name, it’s a great idea to consider searching potential domain names first to see what’s available.
With so many businesses online, it can be extremely competitive to find an available domain name, so starting with a domain and then choosing your business name, can save you time and money further down the line.
Here are some things to consider if the domain name you’re after is available.
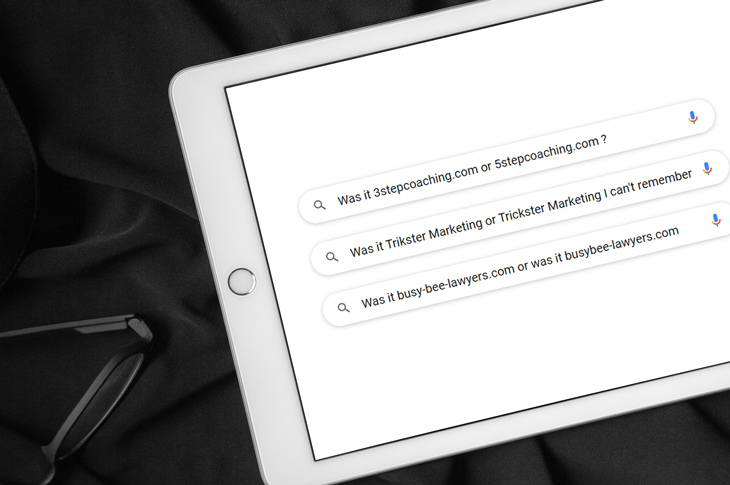
Avoid spelling mistakes.
Whether intentional or not, online users find it difficult to remember websites with incorrect or ‘creative’ spelling, making it tricky to be found and build an online brand.
Avoid hyphens.
While it’s tempting to have your business and domain names match perfectly, hyphenated URLs can look both spammy and like impersonation websites. Users are also less likely to remember the website URL with so many hyphens in the mix.
Avoid numbers.
Like hyphens, numbers in a URL make it difficult for people to remember. Unless there are numbers in your business name, leave these out of your domain.
Keep it short, simple, and clear.
Keeping your domain short, simple and clear makes it easier for people to remember. If possible, try including a primary keyword at the end of your URL, for example adding “hair salon” to your business name. Adding this keyword makes it really clear what you do and helps build a memorable brand.
Step 2: Register your domain
Many new business owners often assume registering your business name is the same as registering your domain name. It’s not.
You’ll want to purchase your domain name from sites like Australian-based business Ventra IP, Bluehost, and if you choose Google Domains, this makes connecting your G-Suite super-efficient with seamless integration.
Now, if you’ve already registered your Australian business name and you’re after “.com.au”, you’re automatically entitled to the matching domain name. However, if you’re after a “.com” only, you’ll need to check that the business name you’re registering has the matching “.com.au” available. You can now also register “.au”.
Step 3: Select a website host
A website host is a provider that holds all your content and data on its servers, allowing your website to be online and searchable. Every time someone types in a URL or clicks on a search result, the website host sends the information back to the person who requested it.
If you’re looking for a reliable web hosting site/provider, or looking to switch, it’s best to opt for servers in Australia as these allow for faster loading of pages, data not having to “travel” so far (especially if your primary customers are here), and Australian-based customer service. Some great Australian-based hosting services include Synergy Wholesale, Ventra IP, Site Ground, and WP Engine.
Step 4: Select your website plan
If you’re just starting out, you might be surprised to learn that website hosting costs can actually be quite affordable, particularly if you’re a small business. Basic plans, with either a monthly or annual fee, will get you up and running cost-effectively and quickly.
The only reason you might want to spend more money on website hosting is if you have lots of content on your pages that need to load quickly. If you have lots of images, videos, and graphics you want visitors to see these straight away, not stare at a blank screen waiting for everything to load. A higher-priced plan also often reduces your customer service wait times and increases the frequency of your website backups.
Step 5: Get an SSL certificate
The final piece to setting up your website is obtaining an SSL certificate, which stands for Secure Sockets Layer. An SSL certificate is your website’s security certificate letting visitors, customers, web browsers and ranking know that your website is both authentic and safe.
This certificate is particularly essential if you have an e-commerce site. Keeping your customer’s data secure, especially their credit card and billing details, is paramount for them and your business’ ongoing safety, security, and brand trust.
While your website host may offer an SSL certificate, if you’re unsure, or need help connecting one, an experienced web designer can help get this set up for you.
Step 6: Select your platform
The most common platforms for building websites are WordPress, Shopify and Squarespace and these are all tried and tested by millions of businesses. There are benefits to using each, and the future trajectory of your business growth will be a determining factor in which website platform you choose. If you’re having decision fatigue about which platform to build your website on, there are loads of talented web designers available on the talent board who will steer you in the right direction, including Stephanie from The Jeanie Design Studio who you can connect with her here.
Setting up a website for your new business is essential if you want to be found and sell online. While the initial set-up doesn’t have to be difficult or expensive, especially if you follow the tips and links above, it can sometimes make more financial and time-saving sense to work with an experienced web designer to build a practical and elegant site with solid foundations that you can then go on to manage yourself.
About the author
Stephanie Dutta (she/her) is an experienced Branding and Web Designer with a penchant for creating fierce and fiery brands. After 10 years working for household names such as Michael Hill, Inner Health Plus and design studio Duosista, as well as the Queensland Government and Property Council of Australia, Stephanie decided to forge her own path and create The Jeanie Design Studio in 2021. Specialising in social media design and animation, email marketing campaigns and website launches, Stephanie has a knack for creating brands that stop people in their tracks. With a passion for creating user-friendly and eye-catching designs, she works with clients from all over Australia and leaves no stone unturned (or idea uncovered) to deliver the best for her clients. Connect with Stephanie on the Talent Board now.